Hello my dear Cloud Marathoners!
As the moderator, I had the pleasure of guiding an engaging conversation with our featured speaker, Dharmendra Ahuja—a multi-cloud Certified Solution Architect, DevSecOps, and Data Engineer with 18+ years of experience.
Dharmendra’s expertise spans cloud-native architectures, CI/CD, containerization, and Infrastructure-as-Code, making him the perfect guide for this journey.
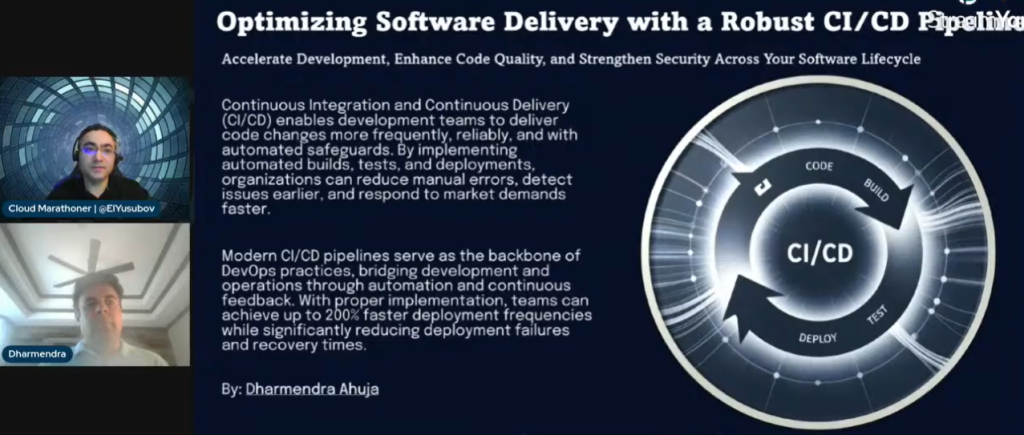
Best Practices for Scalable CI/CD Pipelines
Dharmendra shared actionable insights on designing pipelines that scale with your team and application needs. From modular pipeline stages to leveraging cloud-native tools, the focus was on building resilient, maintainable workflows.
Automated Testing & Build Automation
We explored how Jenkins and CircleCI streamline automated testing and build processes. Dharmendra emphasized the importance of integrating tests early and often, ensuring every code change is validated before deployment.
Deployment Strategies: Blue/Green & Canary
The session highlighted advanced deployment strategies:
- Blue/Green Deployments: Minimize downtime and risk by switching traffic between identical environments.
- Canary Releases: Gradually roll out changes to a subset of users, enabling real-time feedback and rapid rollback if needed.
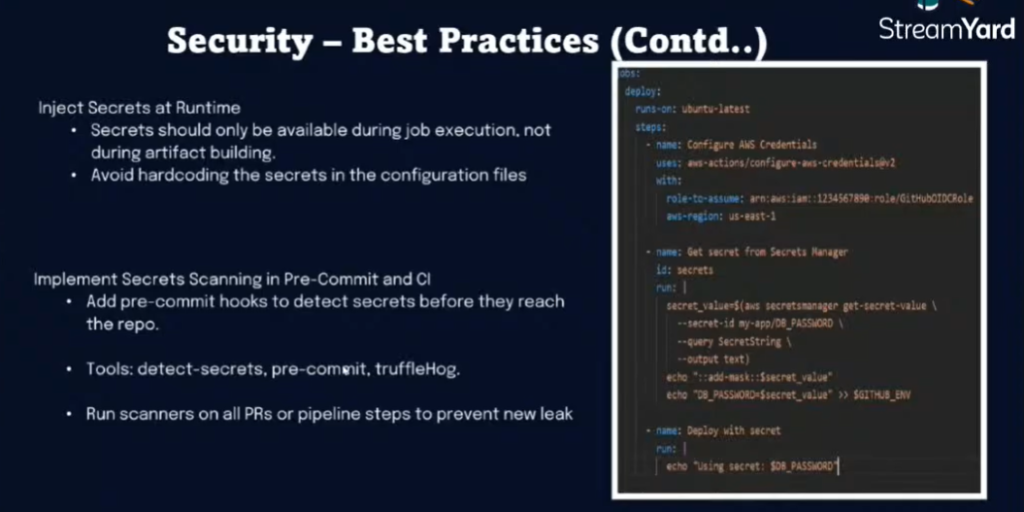
DevSecOps Integration
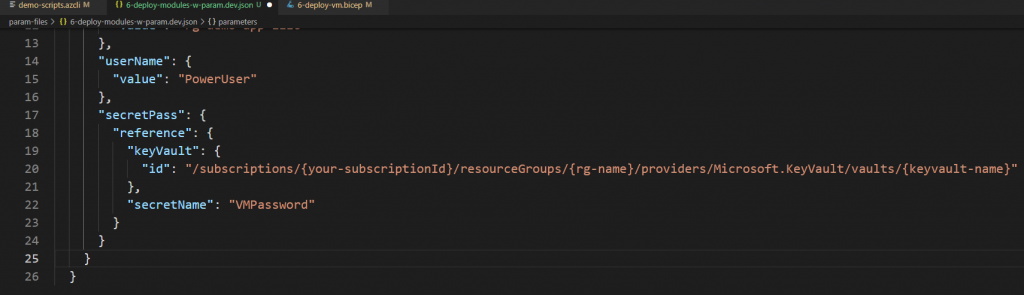
Security isn’t an afterthought—it’s baked into the pipeline. Dharmendra discussed proactive DevSecOps practices, from automated vulnerability scanning to policy enforcement, ensuring every release is secure by design.
Real-Time Monitoring with Prometheus & Datadog
Visibility is key!
In this session, we learned how integrating Prometheus and Datadog provides real-time monitoring, alerting, and analytics—empowering teams to detect issues early and optimize performance.
Reducing Time-to-Market by Up to 40%
By adopting these best practices, organizations can dramatically reduce time-to-market, delivering value to customers faster without sacrificing quality or security.
Engaging Q&A
Throughout the session, I asked our presenter questions that sparked lively discussion:
- How do you choose the right CI/CD tools for multi-cloud environments?
- What are the biggest challenges in integrating security into pipelines?
- Can you share a real-world example of a successful blue/green deployment?
Dharmendra’s responses were packed with practical advice and real-world stories, making the session both informative and inspiring.
Ready to Elevate Your DevOps Game and watch the full episode?
🔗 Session recording > https://www.youtube.com/live/hmlgsNV6mLo?si=2l-xoQ41V7UQEFQ-
📌 LinkedIn announcement > Accelerating Software Delivery: Building a Scalable CI/CD Pipeline
Whether you’re just starting your DevOps journey or looking to optimize your existing pipelines, the Cloud Marathoner community is here to support you. Let’s keep running toward cloud excellence—together!
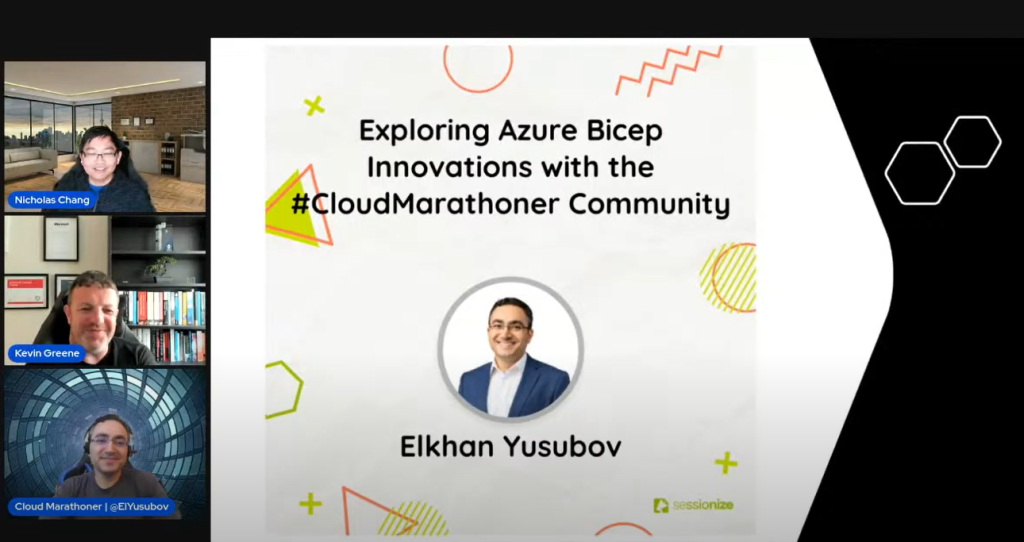
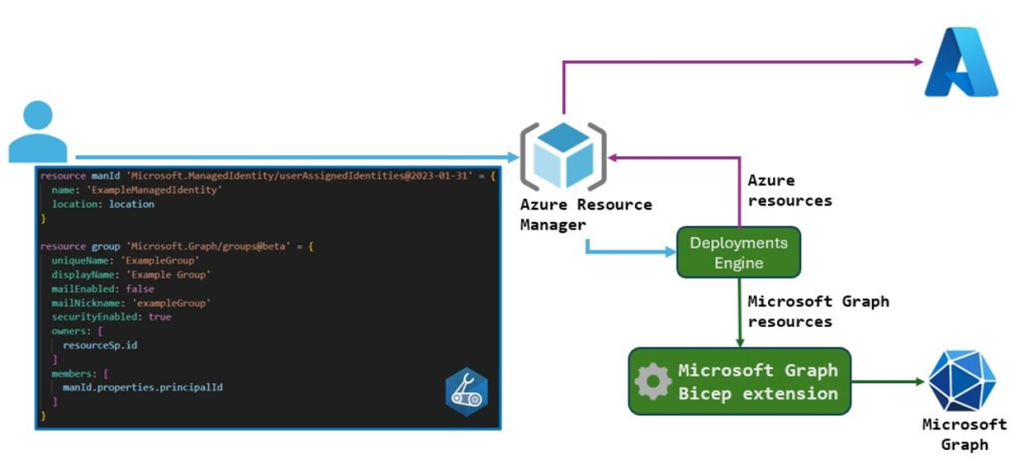
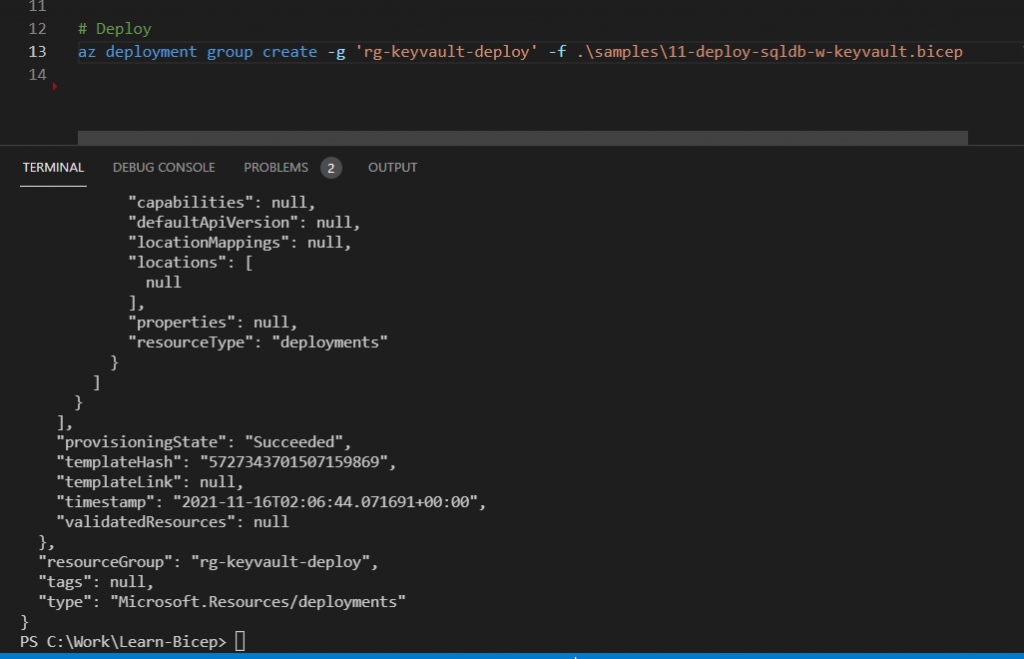
 Bicep – a new
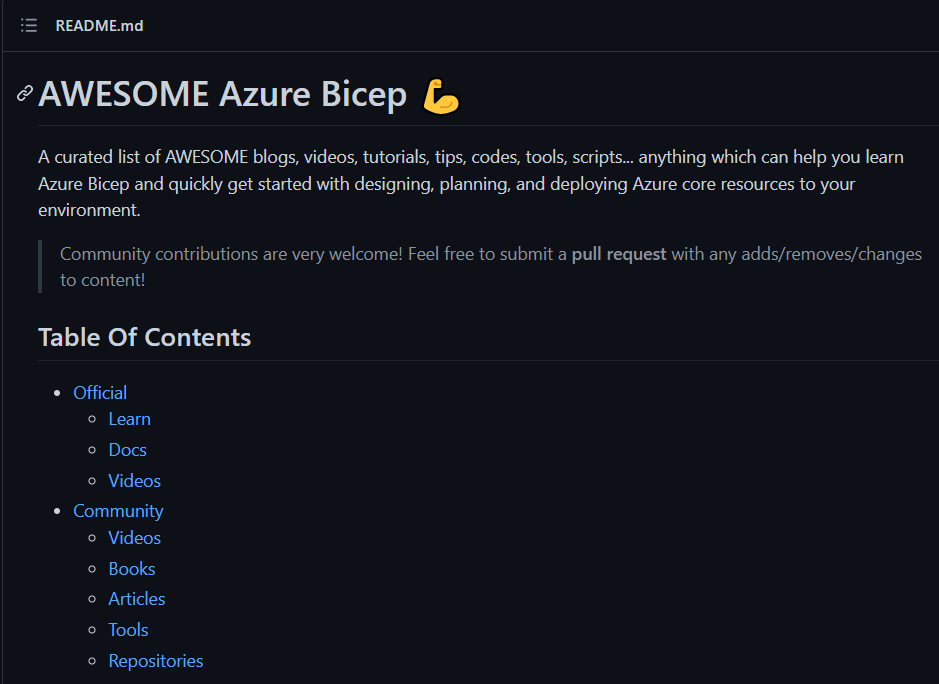
  Check out a curated list of blogs, videos, tutorials, code, tools, scripts, and anything useful to help you learn
 and 40+
  from the